Glazing. That is what I wanted to talk about today. It’s a very specific look for furniture and since the ‘distressed’ look is popular (especially with the farmhouse vibe crowd), I wanted to share a tutorial on how to glaze because it is very simple and also it is great for previously painted furniture.
So first what is the difference between glazing and distressing?
Distressing is very popular because there are SO many ways of doing it. You can do the sandpaper method, the vaseline method, the layering method….all of them give different looks to the final piece.
Glazing is great if you have a piece of furniture with multiple layers of paint that you don’t want to see but you still want that detailed character. You can also use polyurethane over a glaze which you can not do with a wax. So in short….if you have a piece of furniture and it is painted, glazing might be a great fit for you!
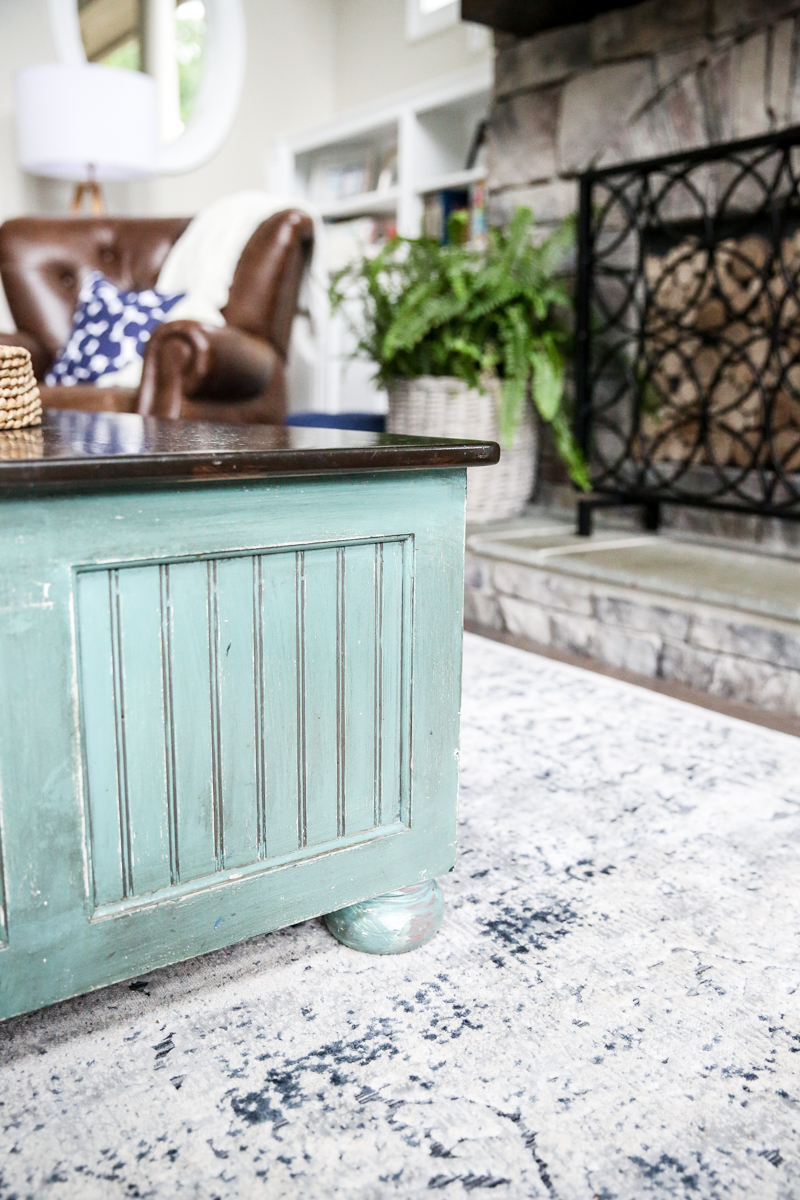
Our coffee table is previously glazed (see the dark parts in the grooves?) and then also distressed (see the exposed white parts near the center?). Since the plan is to build a new coffee table, I thought I would use this previously painted piece to demonstrate how to use glaze.
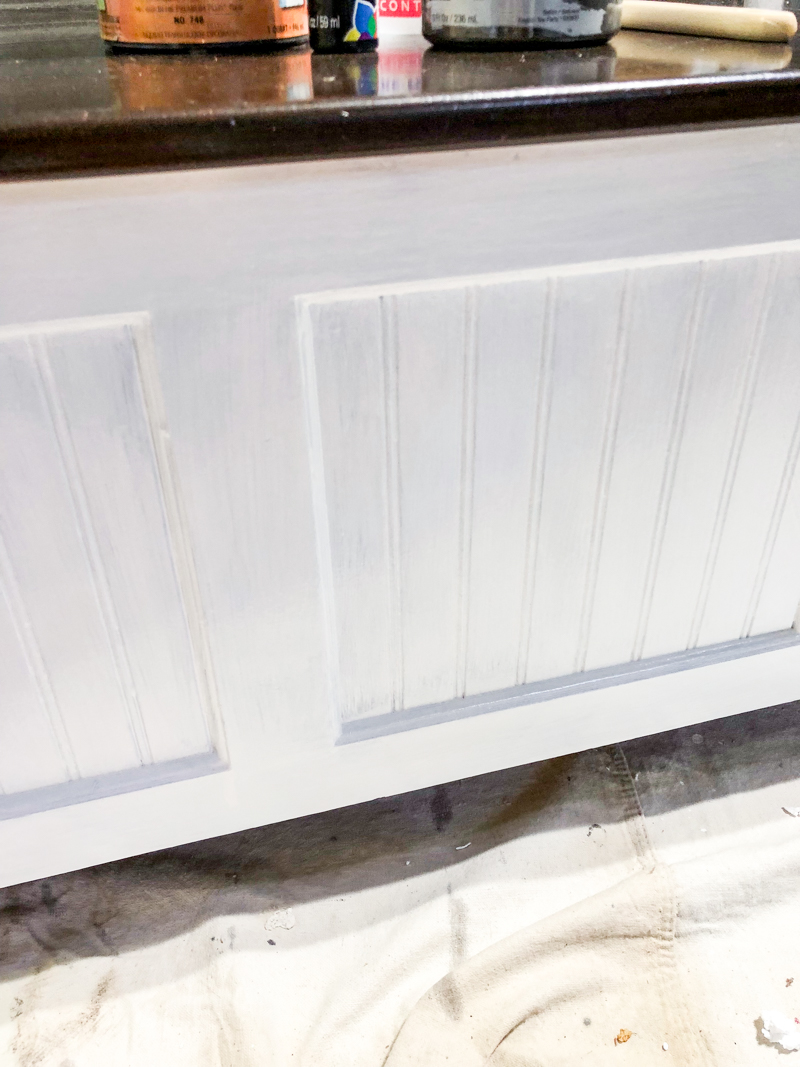
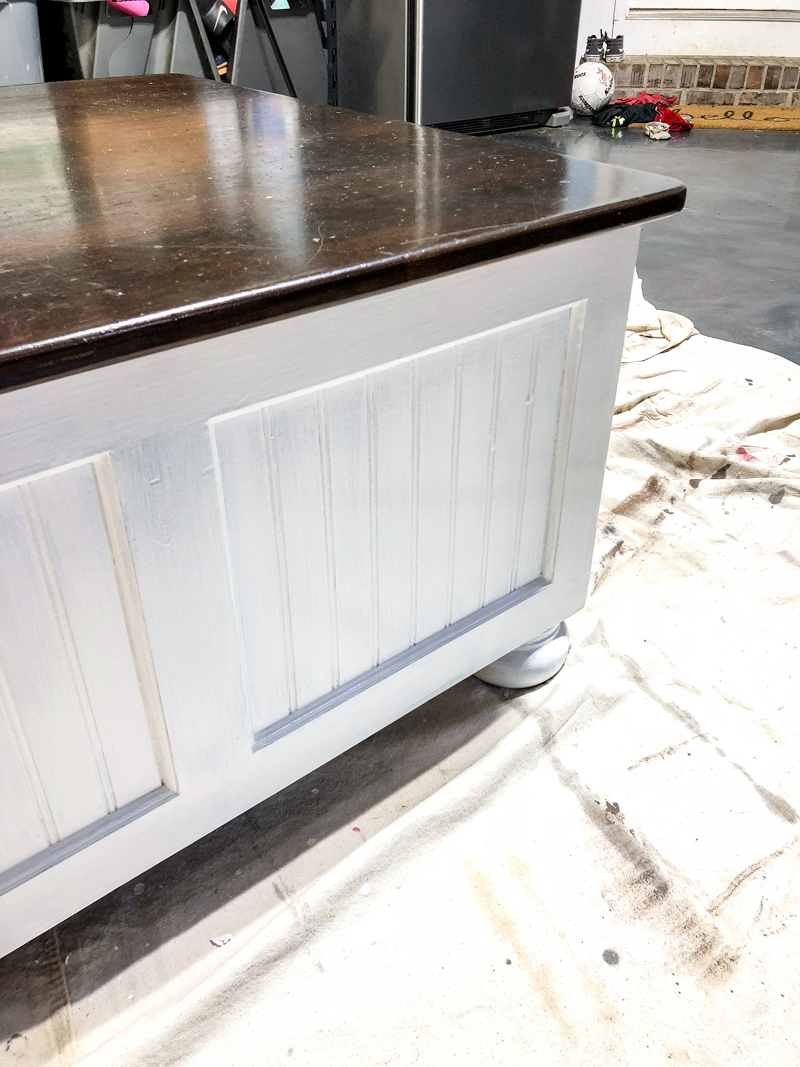
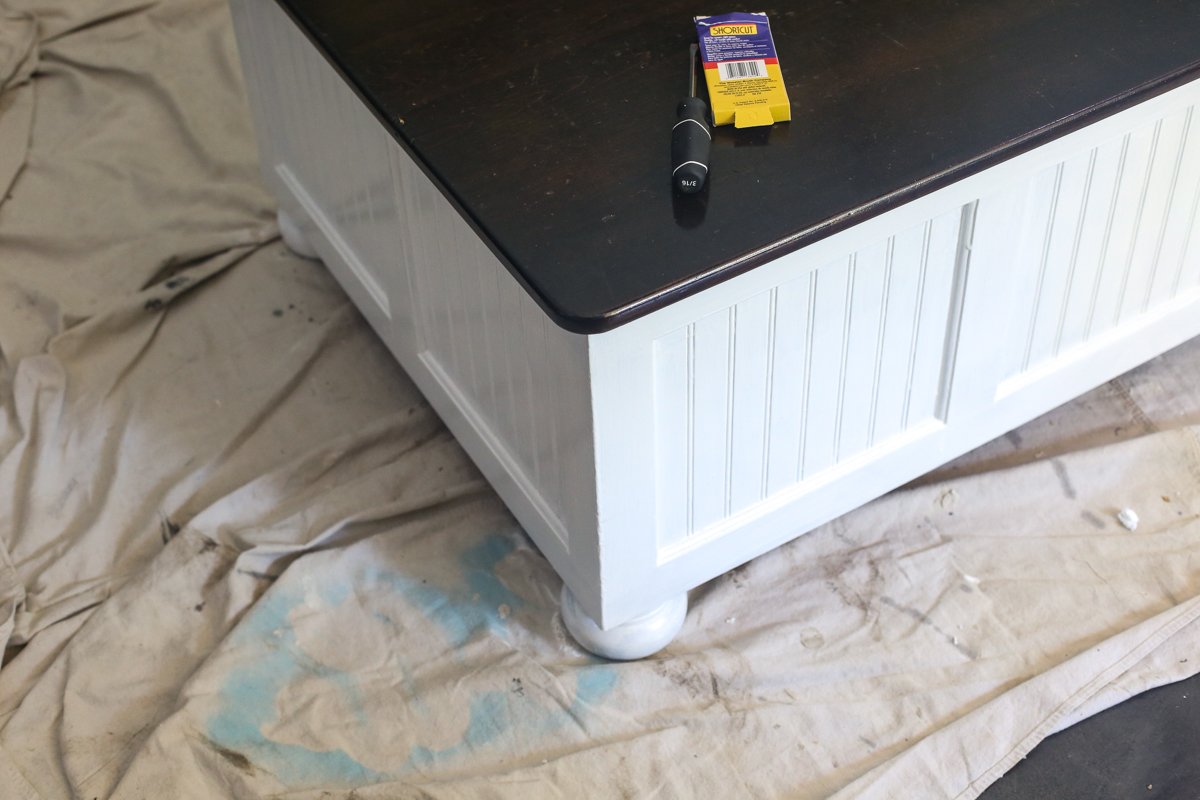
Since I was gonna show how to get the table to be a completely different look, I needed to paint over all that teal colored paint. And this is how it turns out…

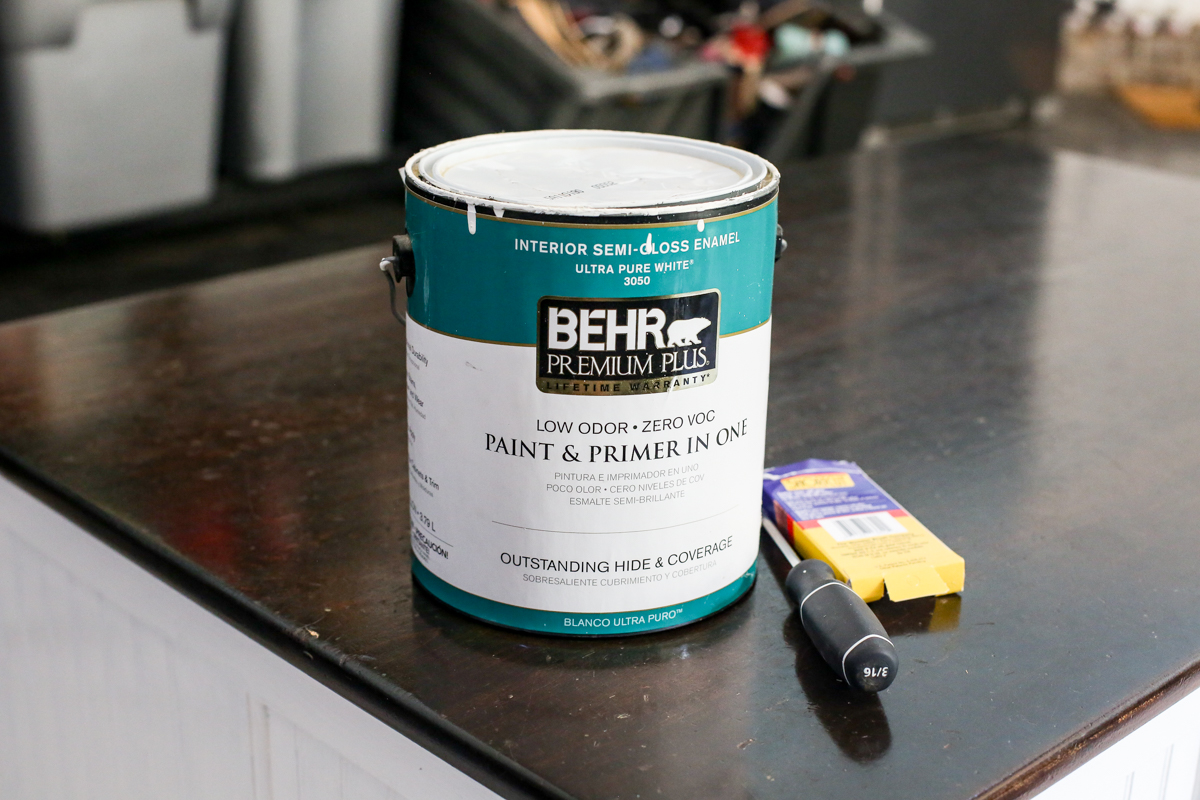
I did a quick sanding of the surface (just to get it to adhere) and then broke out the semi-gloss paint. I used Behr’s Premium Plus in Ultra bright white (it’s the paint we use on our trim so I had lots leftover).
Since I am covering a darker color with a lighter color, it will require multiple thin coats of the white.
BEGINNER TIP: When repainting any piece of furniture, remember to prep for adhesion first and clean and then do multiple thin coats.
Once you are done painting, you can choose to keep it this color (I would personally seal it with a poly, a wax, etc.) but I would sand a little first with 400 grit sandpaper for a smooth finish.

Or you can glaze! I am excited to show you this process because it is super easy and basically foolproof.
You will need your glazing medium (mine is this Behr Premium Plus Faux Glaze), some acrylic paint (go with either black or brown), a mixing container, and a paint brush and about ten billion paper towels